Adding an RF/BLE gateway to your Home Assistant setup opens up a multitude of low-cost automation opportunities, making your setup incredibly versatile. This project configures OpenMQTTGateway, giving you the ability to add cheap RF devices to your Home Assistant setup.
Wifi-enabled IoT devices such as weather stations, door sensors, motion sensors, alarm systems, and driveway alert systems, can be very expensive. This is due to additional functionality included such as mobile app support and the cloud services required to support them.
RF devices are low-powered devices that emit a single integer code. This can be read by a gateway device to be translated into a Wifi-based format your home automation server can understand.
Requirements for RF Gateway
For my use cases, the device should capture any incoming radio frequency (RF) signals at 433/315MHz and emit an MQTT message on the WiFinetwork with the original RF payload. This MQTT message can then be consumed by other WiFi-enabled entities such as Home Assistant or my MQTT Payload Processor.
The device should have a range of at least 20 meters, which should cover my house just fine. Walls and interference might reduce this range.
Lastly, the gateway must be reliable. This is very important because it will be a central part of the home automation system. If you are having problems with smart home reliability check out my post on best practices for smart home monitoring.
RF Door and window sensors are a reliable addition to smart home and batteries last for a long time.
Advantages of RF devices
Radio-controlled devices — particularly on the 433MHz frequency – are incredibly cheap, and battery-operated and there’s a huge variety of devices available on Ebay.
- Cost: they are orders of magnitude cheaper than their Wifi equivalent. Approximately \$15 each, depending on the device. Meaning you can outfit all rooms in your house with a motion sensor for \$100.
- Affordability: since they are cheaper, you will be able to afford more
- Open protocol: they are hackable and independent of manufacturers (no locked to a particular vendor’s cloud service.
- Low power: they are low-power, battery-operated devices (Wifi is power-hungry, RF is not)
- Local: RF devices are local devices
Known Limitations of RF signals
Lack of Error Correction
RF is not as reliable as a WiFi connection because it does not have built-in error correction. The protocol caters for this by sending the same signal multiple times (which can hardly be called error correction and it actually causes more problems because signals need to be deduplicated by the client. Again, my MQTT Processor takes care of this among the many other benefits.)
Mitigation: Run RF devices at the rated voltage, keep batteries charged, place multiple RF gateways around the house if you find the signal range to be a problem
Signal quality diminishes as the battery goes flat
Some motion sensors can be operated on batteries or by supplying power via micro USB.
Mitigation: I recommend implementing monitoring for all battery-operated devices in your smart home. Check out my detailed post of system monitoring for an in-depth discussion on the topic and a plug-and-play solution.
RF is not Stateful
RF devices are very dumb… all they do is emit a single piece of data (a large integer number), and in most home automation use cases this is completely fine. There is no way to maintain a persistent state on the RF device for two reasons:
- The firmware does not support it. It simply sends an RF code when an event happens (for motion sensors that is “motion detected”).
- The state cannot be queried by Home Assistant. (Again, the devices do not maintain state and a very basic).
Mitigation: Use Home Assistant to track the state of RF devices, this is much easier than it sounds and you’ll have to do this anyway to make the RF device available in Home Assistant. Check out my post Setting up stateless RF Motion Sensors as binary_sensors for more information.
Limitation Summary
For a post raving about the greatness of RF (it truly is!!!), I have admittedly given you a ton of reasons not to use it. I think it’s important to know its limitations as the extremely low cost outweighs them more often than not. Here are some more tips:
- Run RF transmitters and receivers at the max rated voltage to increase the range
- Solder a custom antenna to the chip (see the optional item in the parts list)
- Use the recommended RF modules
- Create a custom HA component to manage state in memory on the home automation server (give the illusion of state from an automation perspective)
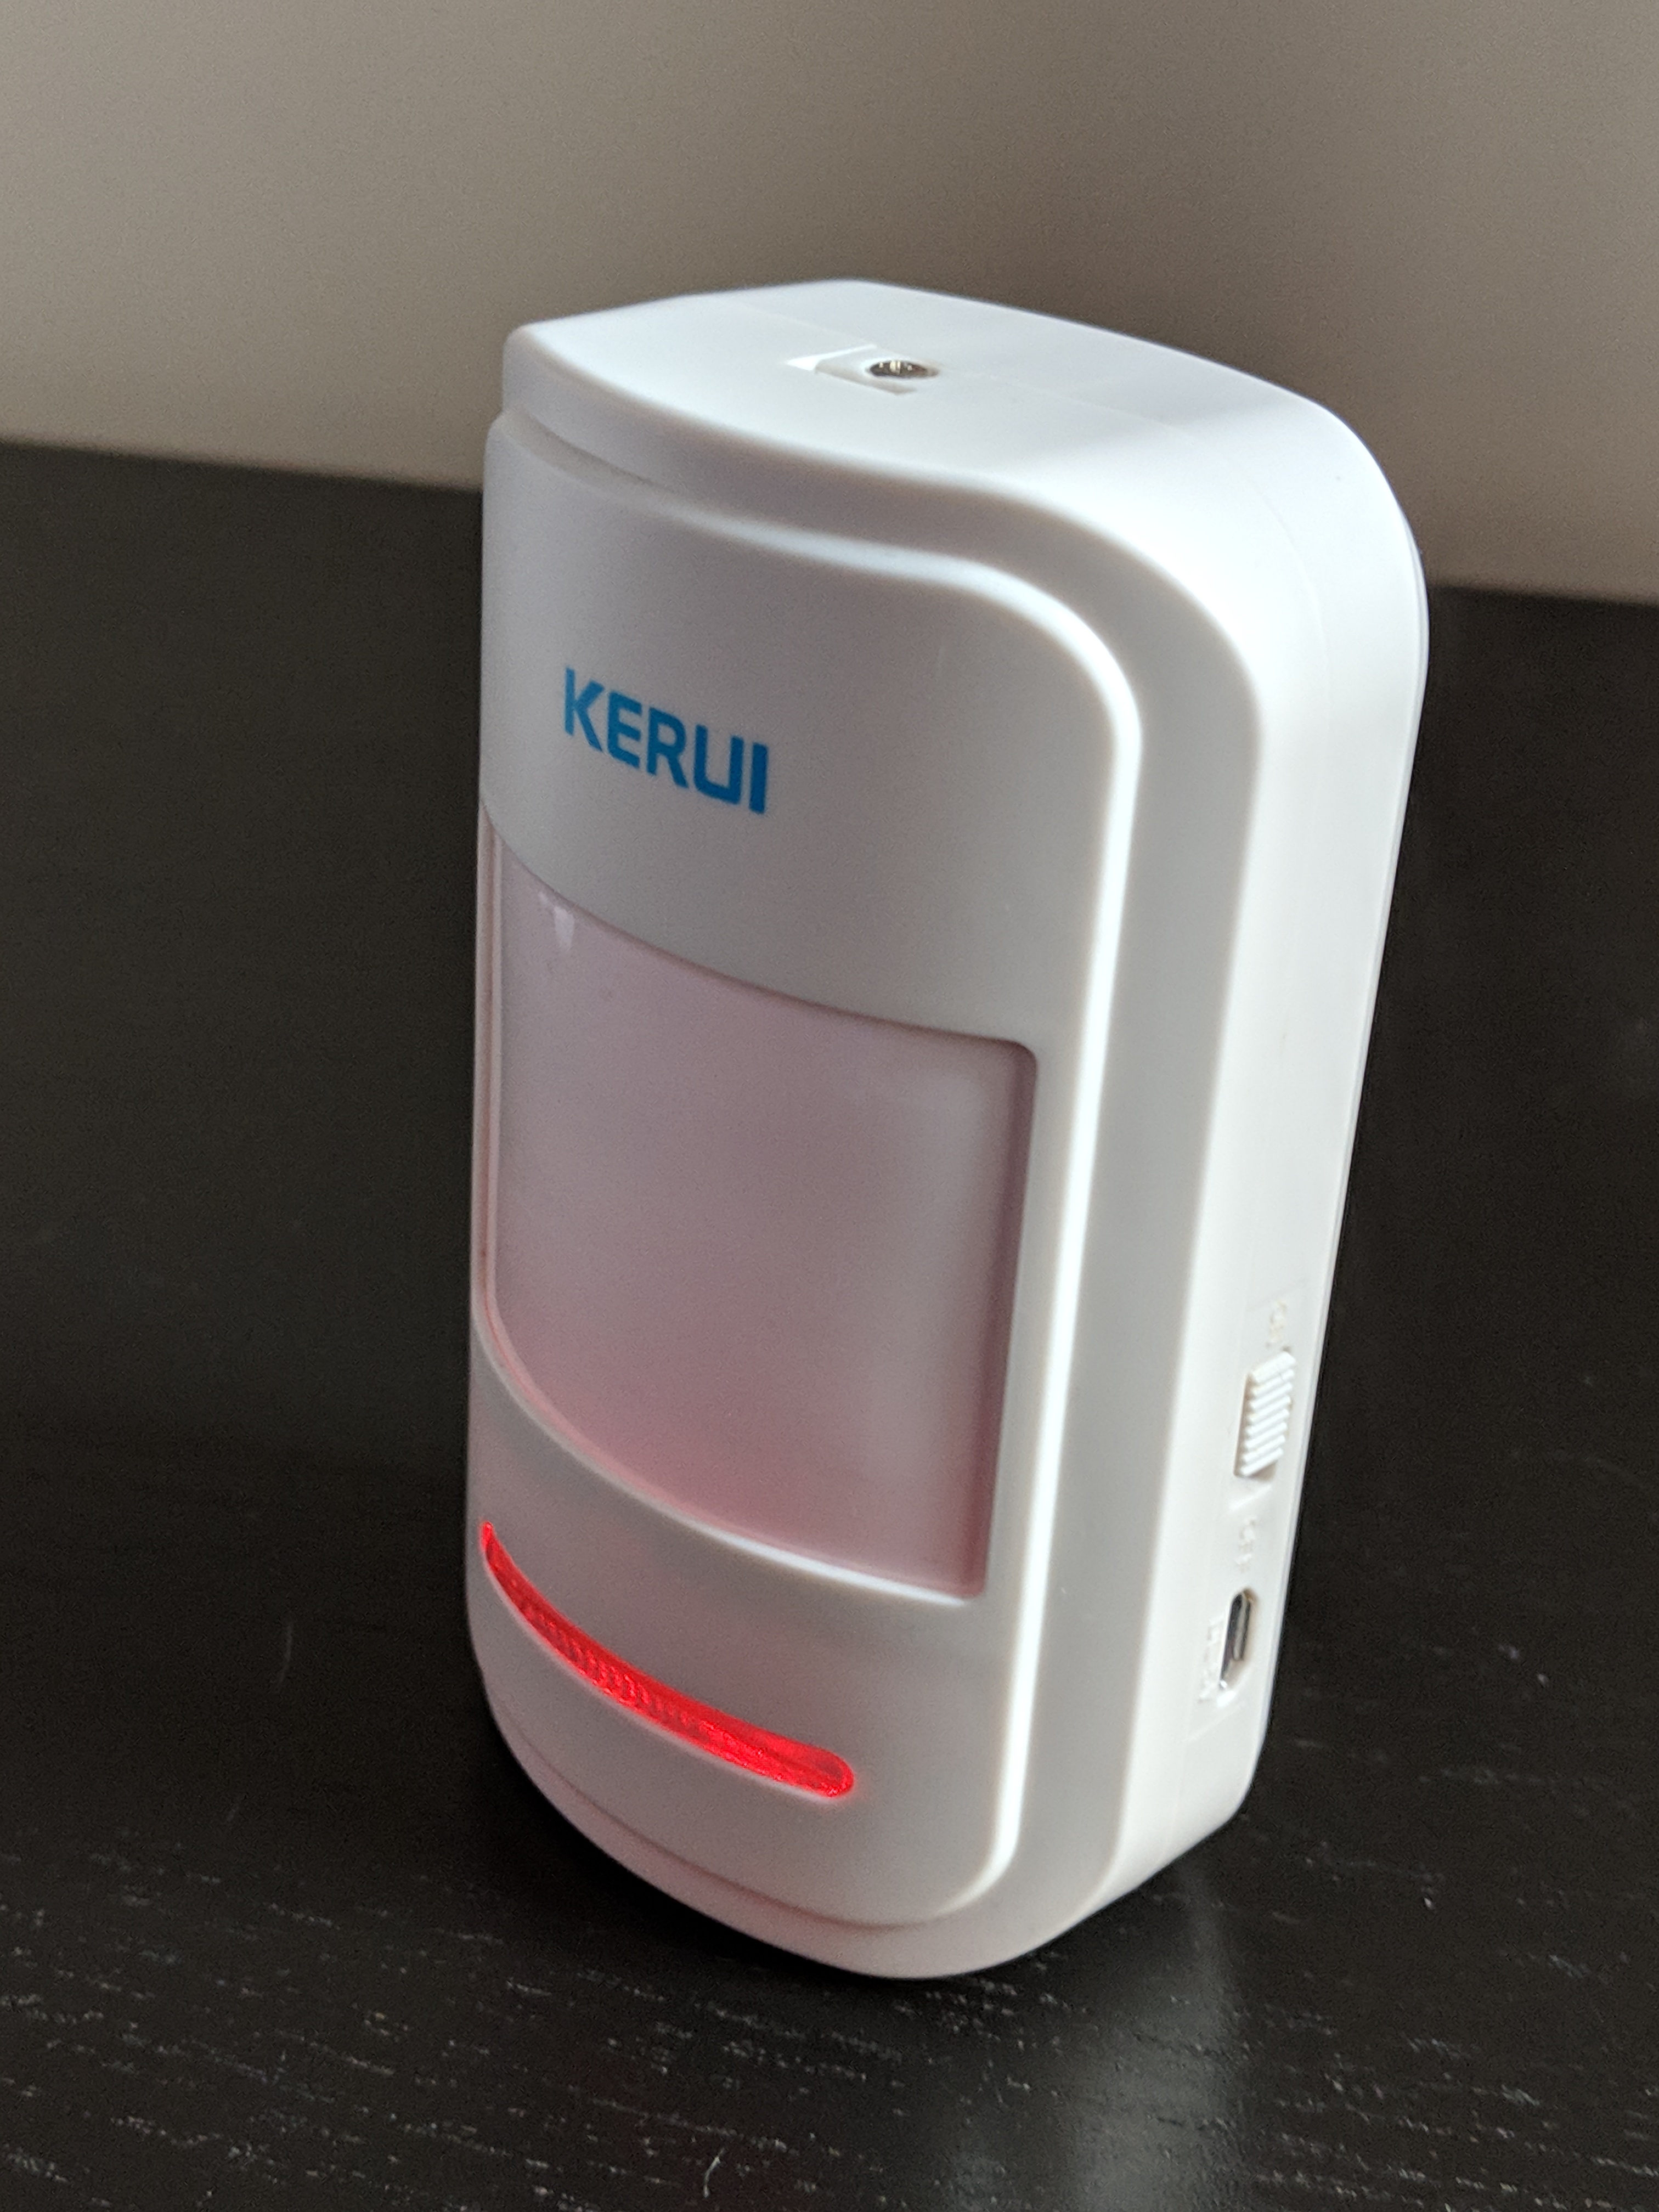
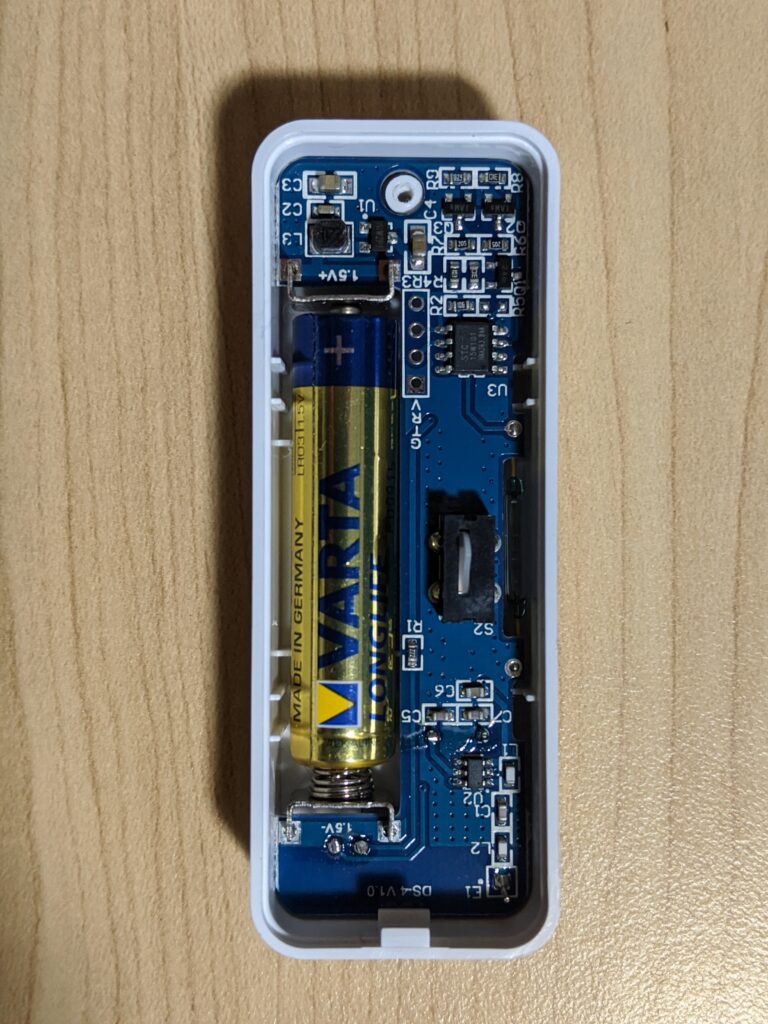
Kerui RF Motion Sensor
Instructions for Open MQTT Gateway
Parts
Advertisement Begins
Advertisement End
- OpenMQTTGateway, a free MQTT gateway supporting RF, Bluetooth, infrared and many more transport layers
- MQTT broker like Mosquitto
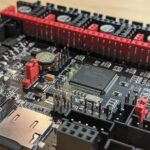
- WiFi Enabled Arduino chip such as ESP8266 or ESP32
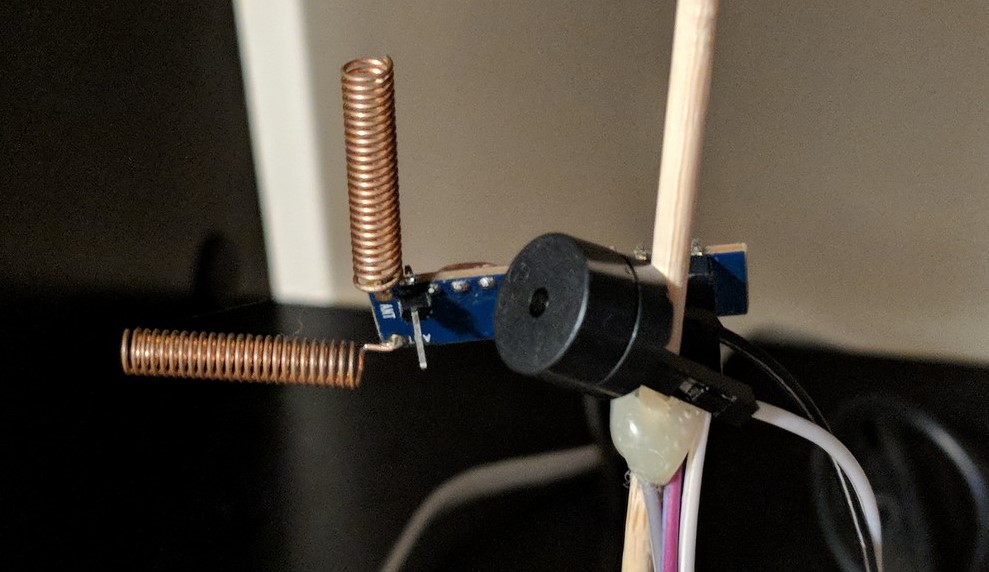
- RF receiver/transmitter: STX882 & SRX882 (affiliate link)
- ESP32
- (optional) 433MHZ Helical Antenna for Arduino Remote Control
| Image | Product | Features | Price |
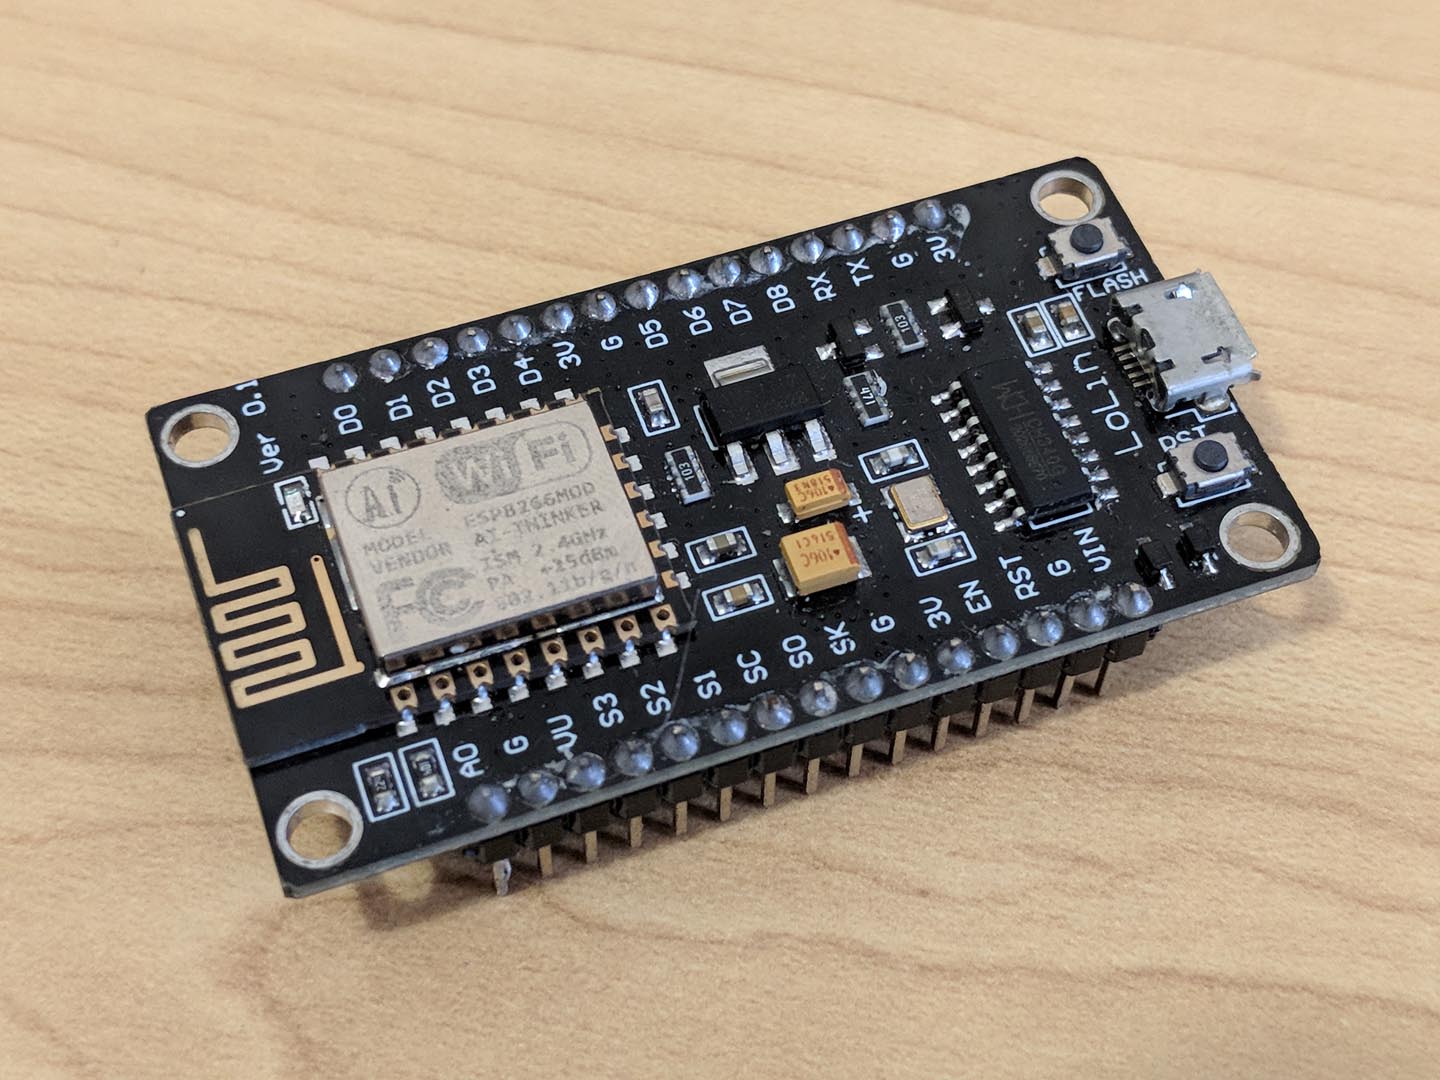 | ESP8266 | ||
 | ESP32 (alternative) | ||
 | RF Receiver |
Time needed: 30 minutes.
- Download Source code and build
Download the OpenMQTTGateway image by 1technophile and open it up in Visual Studio Code with the PlatformIO extension installed. Here we need to select the correct build in
platformio.ini. For me, this was the one for my ESP8266 board. Changing settings in theUser_config.hfile is not required.
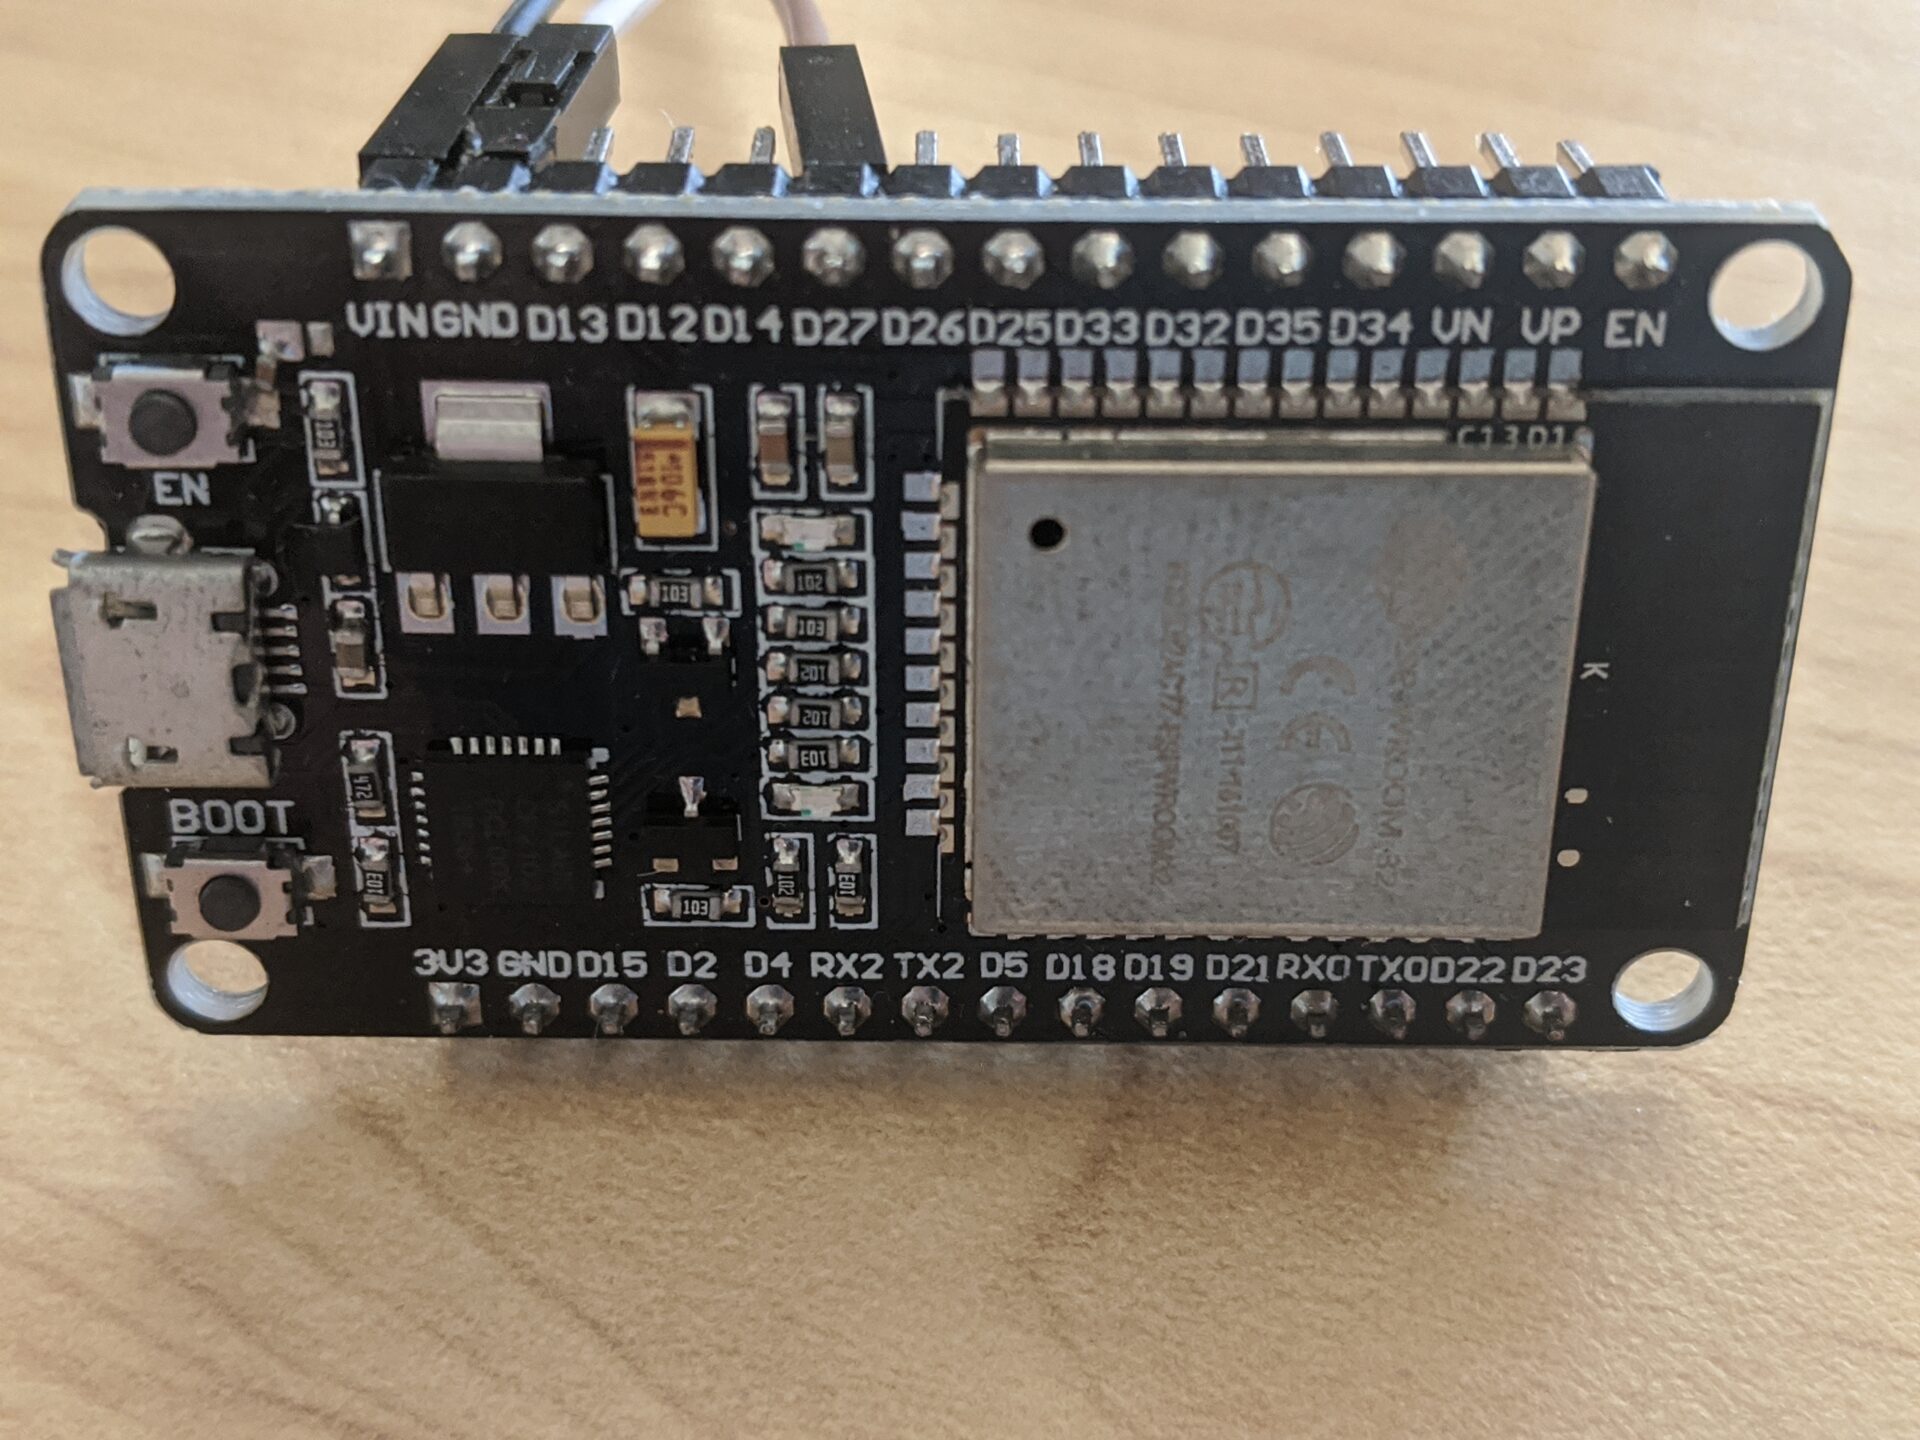
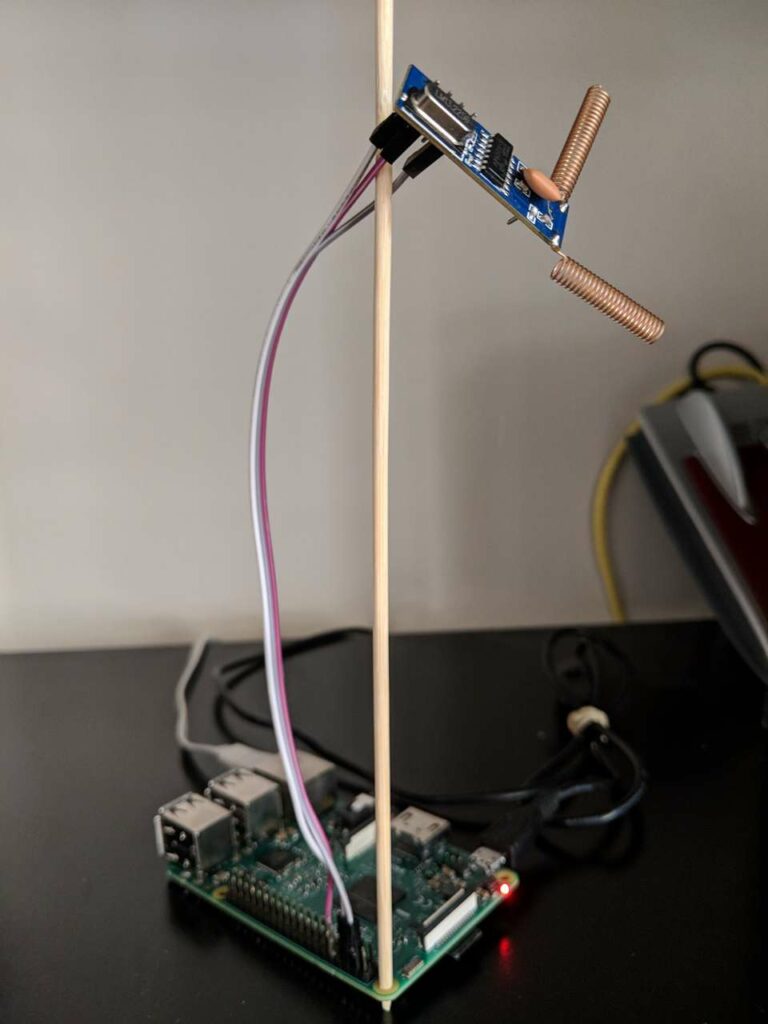
You can make any necessary changes inconfig_RF.h, though it’s probably a good idea (as with any Arduino project) to get the barebone default configuration to work before customising an installation to avoid head-scratching. - Connect ESP32
Connect your ESP32to your computer and flash the program using the
Uploadbutton in the status bar of Visual Studio Code. PlatformIO will automatically build the source code and upload it to the ESP32.
- Wiring the receiver and transmitter
The
config_RF.hfile gives clues as to how to connect your RF transmitter and receiver. The receiver pin connects to D3 on the ESP32.
Once you got this connected, plug your ESP32 into power and test the setup. - Testing
For testing MQTT enabled projects, I recommend the MQTTfx utility (find more useful resources). Subscribe to the
home/gateway/433toMQTTtopic (depends on the settings you entered in the Wifi Mangaer configuration. Plug your Arduino into a power source and use an RF emitting device such as garage door remote, fan or AC remote to test your Arduino Gateway. If everything works correctly, you should see the RF messages appear in MQTTfx along with their payload (a large integer). Notice that the payload is different for each remote button.
MY MISSION
This blog started nearly 10 years ago to help me document my technical adventures in home automation and various side projects. Since then, my audience has grown significantly thanks to readers like you.
While blog content can be incredibly valuable to visitors, it’s difficult for bloggers to capture any of that value – and we still have to work for a living too. There are many ways to support my efforts should you choose to do so:
Consider joining my newsletter or shouting a coffee to help with research, drafting, crafting and publishing of new content or the costs of web hosting.
It would mean the world if gave my Android App a go or left a 5-star review on Google Play. You may also participate in feature voting to shape the apps future.
Alternatively, leave the gift of feedback, visit my Etsy Store or share a post you liked with someone who may be interested. All helps spread the word.
BTC network: 32jWFfkMQQ6o4dJMpiWVdZzSwjRsSUMCk6
Future Improvements
This post discussed the advantages of 433Mhz devices, their limitations and ways to work around them. They present a fantastic opportunity for budget-conscious people!
I recommend you check out this dockerised RF gateway or this ESP32 version of the same, reducing on the amount of hardware required to support your home automation setup! Check out this post to read more about the advantages of using docker and microservices in home automation.