I picked up a cheap smart bulb from Officeworks yesterday for only AUD$14 to see if I could flash it using tuya-convert and therefore remove any dependency to the cloud. This post shows how to do it from start to finish and provides the Tasmota device templates required for this particular smart bulb.
All home automation devices on my network should run open source firmware that works locally wihtout sending data to cloud services. The added benefit of this very low latency (fast responsiveness) and knowing that your usage data is not being recorded by some company elsewhere.
The different components explained
Raspberry Pi 4: Everyone has one lying around. The built-in Wifi chip in RPi v4 supports access point mode which is required to create a Wifi hotspot for the ioT device toconnect to.
Tuya Convert: This is a firmware flashing tool to hack common IoT devices such as light bulbs and power plugs. It tricks the IoT device into thinking the proprietary mobile app is talking to it. This works for tuya based devices. In all likelihood, your device will work. My light bulb was not on the support device list, but I managed to figure out how to write a custom template for it (see end of post).
Advertisement Begins
Advertisement End
Tasmota: This is excellent firmware for IoT devices. Some 20 devices on my network run on this firmware and it is very responsive and above all — reliable. I dabbled with ESPYaml in the past (post embedded below), but can no longer recommend it since the Tasmota firmware is much more stable, feature-rich and reliable. Not to mention, firmware upgrades can be handled in bulk using TasmoAdmin.
Not too long ago I wrote about ESPHomeYAML — a YAML based firmware generator for microcontrollers. What if I told you that you can use this tool to automatically update your entire fleet of ESP8266-based home automation IoT devices from one central server?
Flashing Smart bulbs using Tuya Convert
Time needed: 20 minutes.
If you are adding this to an existing RPI, you can skip the first 3 steps and go straight to step 4.
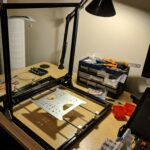
- Install Raspian on a clean SD card on Rpi 3
This is quite important. I wasted hours trying to get Tuya-Convert to work on an existing raspberry pi installation, within self-compiled docker image and precompiled images. Not only did this cause all kinds of problems, it also damaged the existing installation which hosts the MQTT gateway and audio feedback buzzer. Buy a cheap SD card if you don’t have one and save the hassle.
- Enable SSH server
You can use the
sudo raspi-configtool to enable the SSH server on Raspian. - Configure Wifi on Raspberry Pi
Plug an ethernet cable into the Pi and SSH into the device to configure Wifi using
sudo raspi-config. Test usingifconfigandiwconfigto see thewlan0network connectivitiy. Reboot the Pi, unplug ethernet and attempt toping google.comto confirm Wifi is working correctly. If not, take a backup of/etc/network/interfacesusing the command below and follow this tutorial.sudo cp /etc/network/interfaces ~/interfaces_backup.txt
Repeat the ping test and SSH into the pi from another computer with the ethernet unplugged. - Install Dependencies
Plug the ethernet back in, it is required for the rest of these instructions.
sudo apt updatesudo apt install gitgit clone https://github.com/ct-Open-Source/tuya-convert.git tuyacd tuya./install_prereq.s - Flashing Custom Firmware
Once the dependencies are all installed successfully, you can start the procedure. If you have an issue with
install_prereq.sh, save the error message somewhere (for reference) and simply run the ./install_prereq.sh command again. If it fails again, run withsudo. Luckily, mine worked on the second attempt.
Once all dependencies are installed, consult the Tuya Convert Readme for step instructions. These should roughly align with the 4 steps I have condensed below. - Start the flashing process with tuya convert
Type
./start_flash.sh - Accept the Disclaimer
Type
yesto acknowledge the disclaimer. - Connect your phone to the Wifi hotspot
Connect your phone to the Wifi hotspot created on the Raspberry Pi (this is important for the flash to work) Make sure to tap on “sign-in to wifi network” notification to ensure your device stays connected to the network. Otherwise the Android OS will keep dropping the connection because it cannot detect internet. (very annoying for setting up smart devices these days!!!)
- Ensure Bulb is in Setup Mode
Make sure your bulb is in set up mode (fast light flashing at 0.5s intervals). Check your manual for how to achieve this with your device.
- Begin the flashing process
Hit enter to start the process. Do not interrupt it. It will ask for your input or time out with an obvious message. Just let it do its thing.
Tuya-Convert will take a backup of the existing bulb firmware and loadtasmotaon to it, fully automatically. - Setup Tasmota on the newly flashed device
Once the device is flashed with tasmota, connect your phone to thetasmota-*Wifi hotspot and go tohttp://192.168.4.1/to enter your Wifi credentials.
Affiliate Content Start

INSIGNIA 55-inch Class F50 Series LED 4K UHD Smart Fire TV with Alexa Voice Remote (NS-55F501NA26)
$189.99 (as of July 4, 2025 01:51 GMT +08:00 - More infoProduct prices and availability are accurate as of the date/time indicated and are subject to change. Any price and availability information displayed on [relevant Amazon Site(s), as applicable] at the time of purchase will apply to the purchase of this product.)
RingConn Gen 2 Air Sizing Kit - Size First Before You Buy - Choose from 9 Sizes - Sizes 6 to 14 - Only Smart Ring
$2.00 (as of July 4, 2025 01:51 GMT +08:00 - More infoProduct prices and availability are accurate as of the date/time indicated and are subject to change. Any price and availability information displayed on [relevant Amazon Site(s), as applicable] at the time of purchase will apply to the purchase of this product.)
TRAUSI Wireless Earbuds, Bluetooth 5.4 Headphones, True Wireless Stereo Earphones with IPX7 Waterproof, Noise Cancelling Mic, Fast Charging and Comfort Fit Ear Buds for Sports/Workouts - Black
$18.99 (as of July 4, 2025 01:51 GMT +08:00 - More infoProduct prices and availability are accurate as of the date/time indicated and are subject to change. Any price and availability information displayed on [relevant Amazon Site(s), as applicable] at the time of purchase will apply to the purchase of this product.)Affiliate Content End
Tips and tricks for Flashing Over the Air
- Keep the Raspberry Pi and device you want to flash close together. I found that flashing across rooms does not work. It needs a strong connection.
- Stay close to the router… I know this is a common tip but I ignored it and wasted time because of it. Flashing is very susceptible to corruption when the signal strength is low.
Setting up a Tasmota template
Get Tasmota Template for your device from their database. If you device is not listed (like mine) follow along to figure it out yourself.
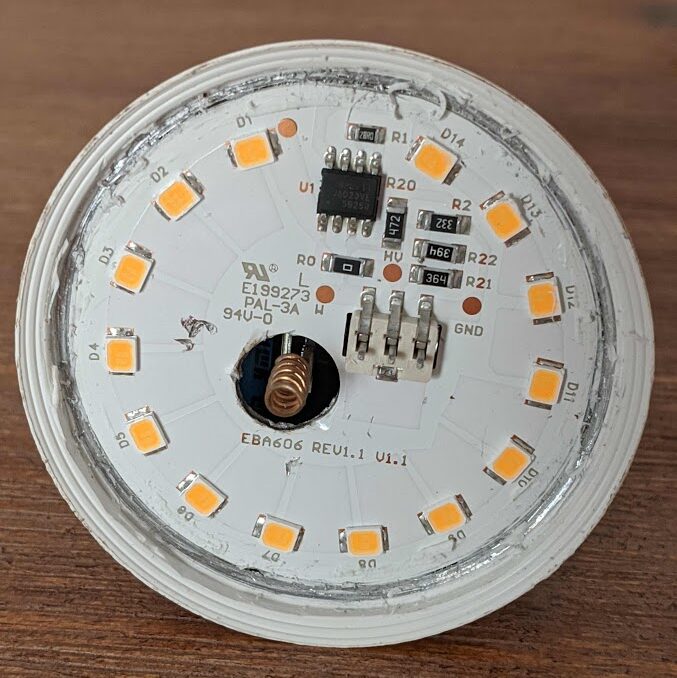
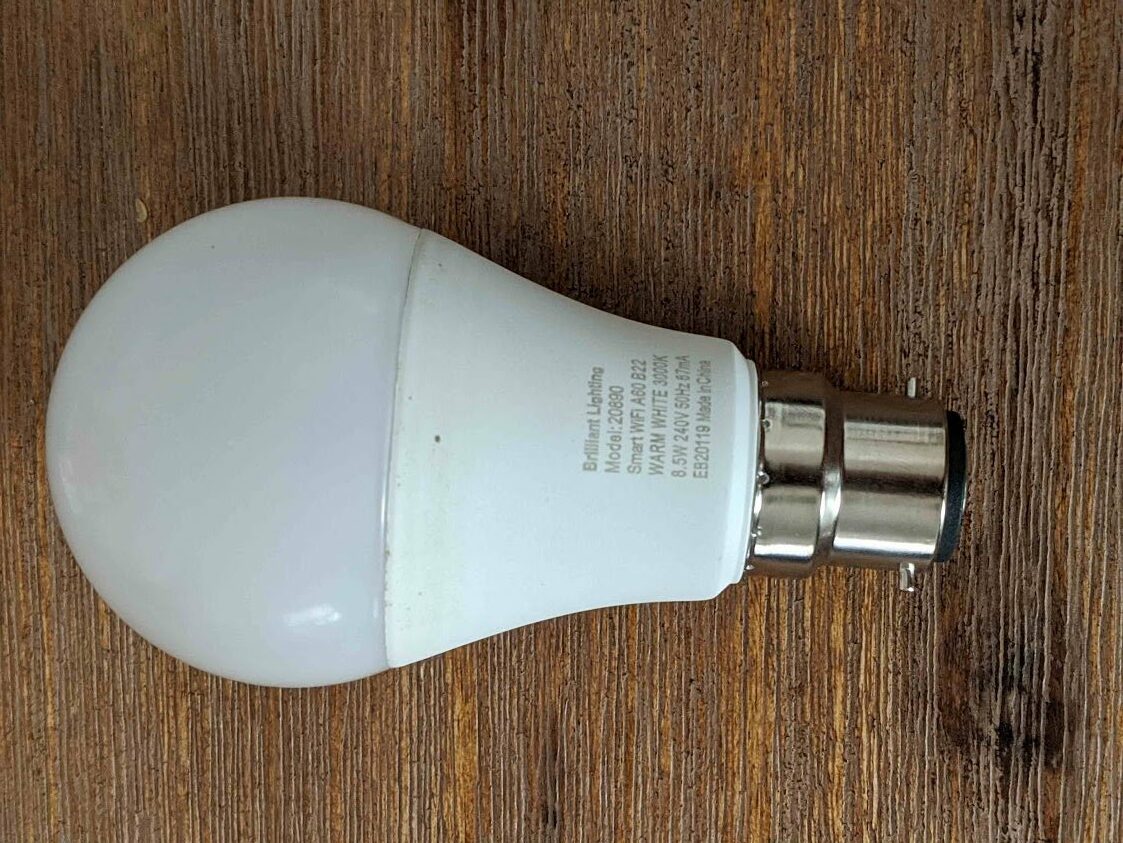
My device was not listed, the internal circuit board is labelled with EBA606 REV1.1 V1.1 and E199273 PAL-3A W 94V-0 as shown below on the right. The model name on the box is Brilliant Smart Wifi A60 globe White 20890.
I googled a little bit and found this issue talking about a similar device labelled EBA882-REV1.1. The supplied template worked for my bulb but had some extra RGB stuff that is not applicable because mine only supports warm white and dimming. (IMHO that is all you really need long term and is much better compared to RGB bulbs in terms of color reproduction.)
MY MISSION
This blog started nearly 10 years ago to help me document my technical adventures in home automation and various side projects. Since then, my audience has grown significantly thanks to readers like you.
While blog content can be incredibly valuable to visitors, it’s difficult for bloggers to capture any of that value – and we still have to work for a living too. There are many ways to support my efforts should you choose to do so:
Consider joining my newsletter or shouting a coffee to help with research, drafting, crafting and publishing of new content or the costs of web hosting.
It would mean the world if gave my Android App a go or left a 5-star review on Google Play. You may also participate in feature voting to shape the apps future.
Alternatively, leave the gift of feedback, visit my Etsy Store or share a post you liked with someone who may be interested. All helps spread the word.
BTC network: 32jWFfkMQQ6o4dJMpiWVdZzSwjRsSUMCk6
Modified Template for Brilliant 20890
Supplied Template (works but with extra controls that don't apply);

{"NAME":"OM60/RGBW","GPIO":[255,255,255,255,140,37,0,0,38,142,141,255,255],"FLAG":0,"BASE":18}

Modified Template for Brilliant 20890 (see screenshot below)
{"NAME":"Brilliant 20890","GPIO":[0,0,0,0,0,0,0,0,37,0,0,0,0],"FLAG":0,"BASE":18}
Tasmota Configuration
Use the following Backlog command in Tasmota device Admin interface to configure the device. Leave Hostname %s as is, it will then take the MQTT topic as host name (in my case son_kitchen_bulb.)
Backlog Hostname %s; FriendlyName Kitchen Bulb; MqttHost serverbox; MqttUser sonoff_user; Topic son_kitchen_bulb;Home Assistant Integration
All my Tasmota based LED lights are single-color, dimmable lights. The following mqtt light configuration should make this work well in Home Assistant.
- platform: mqtt
  name: Toilet Light
  state_topic: "stat/son_toilet_bulb/RESULT"
  command_topic: "cmnd/son_toilet_bulb/POWER"
  state_value_template: ""
  brightness_state_topic: "stat/son_toilet_bulb/RESULT"
  brightness_command_topic: "cmnd/son_toilet_bulb/Dimmer"
  brightness_value_template: ""
  brightness_scale: 100
  payload_on: "ON"
  payload_off: "OFF"
Conclusion
How did you go? Please leave any questions in the comments below.