I have written in the past about my RF-based sensor setup, the gateway services, and custom HA components that support them. This post consolodates all these resources and fills in the gaps for an end to end set up guide for cheap IoT sensors for your house.
Objective
By the end of this post you will understand how to set up a cheap RF gateway and how to integrate RF devices such as motion and door sensors into Home Assistant. The RF gateway can be added to an existing Raspberry Pi.
Hardware
- Raspberry Pi (we need GPIO pins)
- RF Receiver SRX882 Link
- (optional) 433MHZ Helical Antenna for Arduino Remote Control
- some pin wire
In terms of sensor hardware, I recommend you read my my hardware recommendation post for sensors. These sensors emit signals on the 433MHz radio frequeuncy. They are battery operated, simple and cheap. The models I recommend have proven to be reliable and battery efficient.

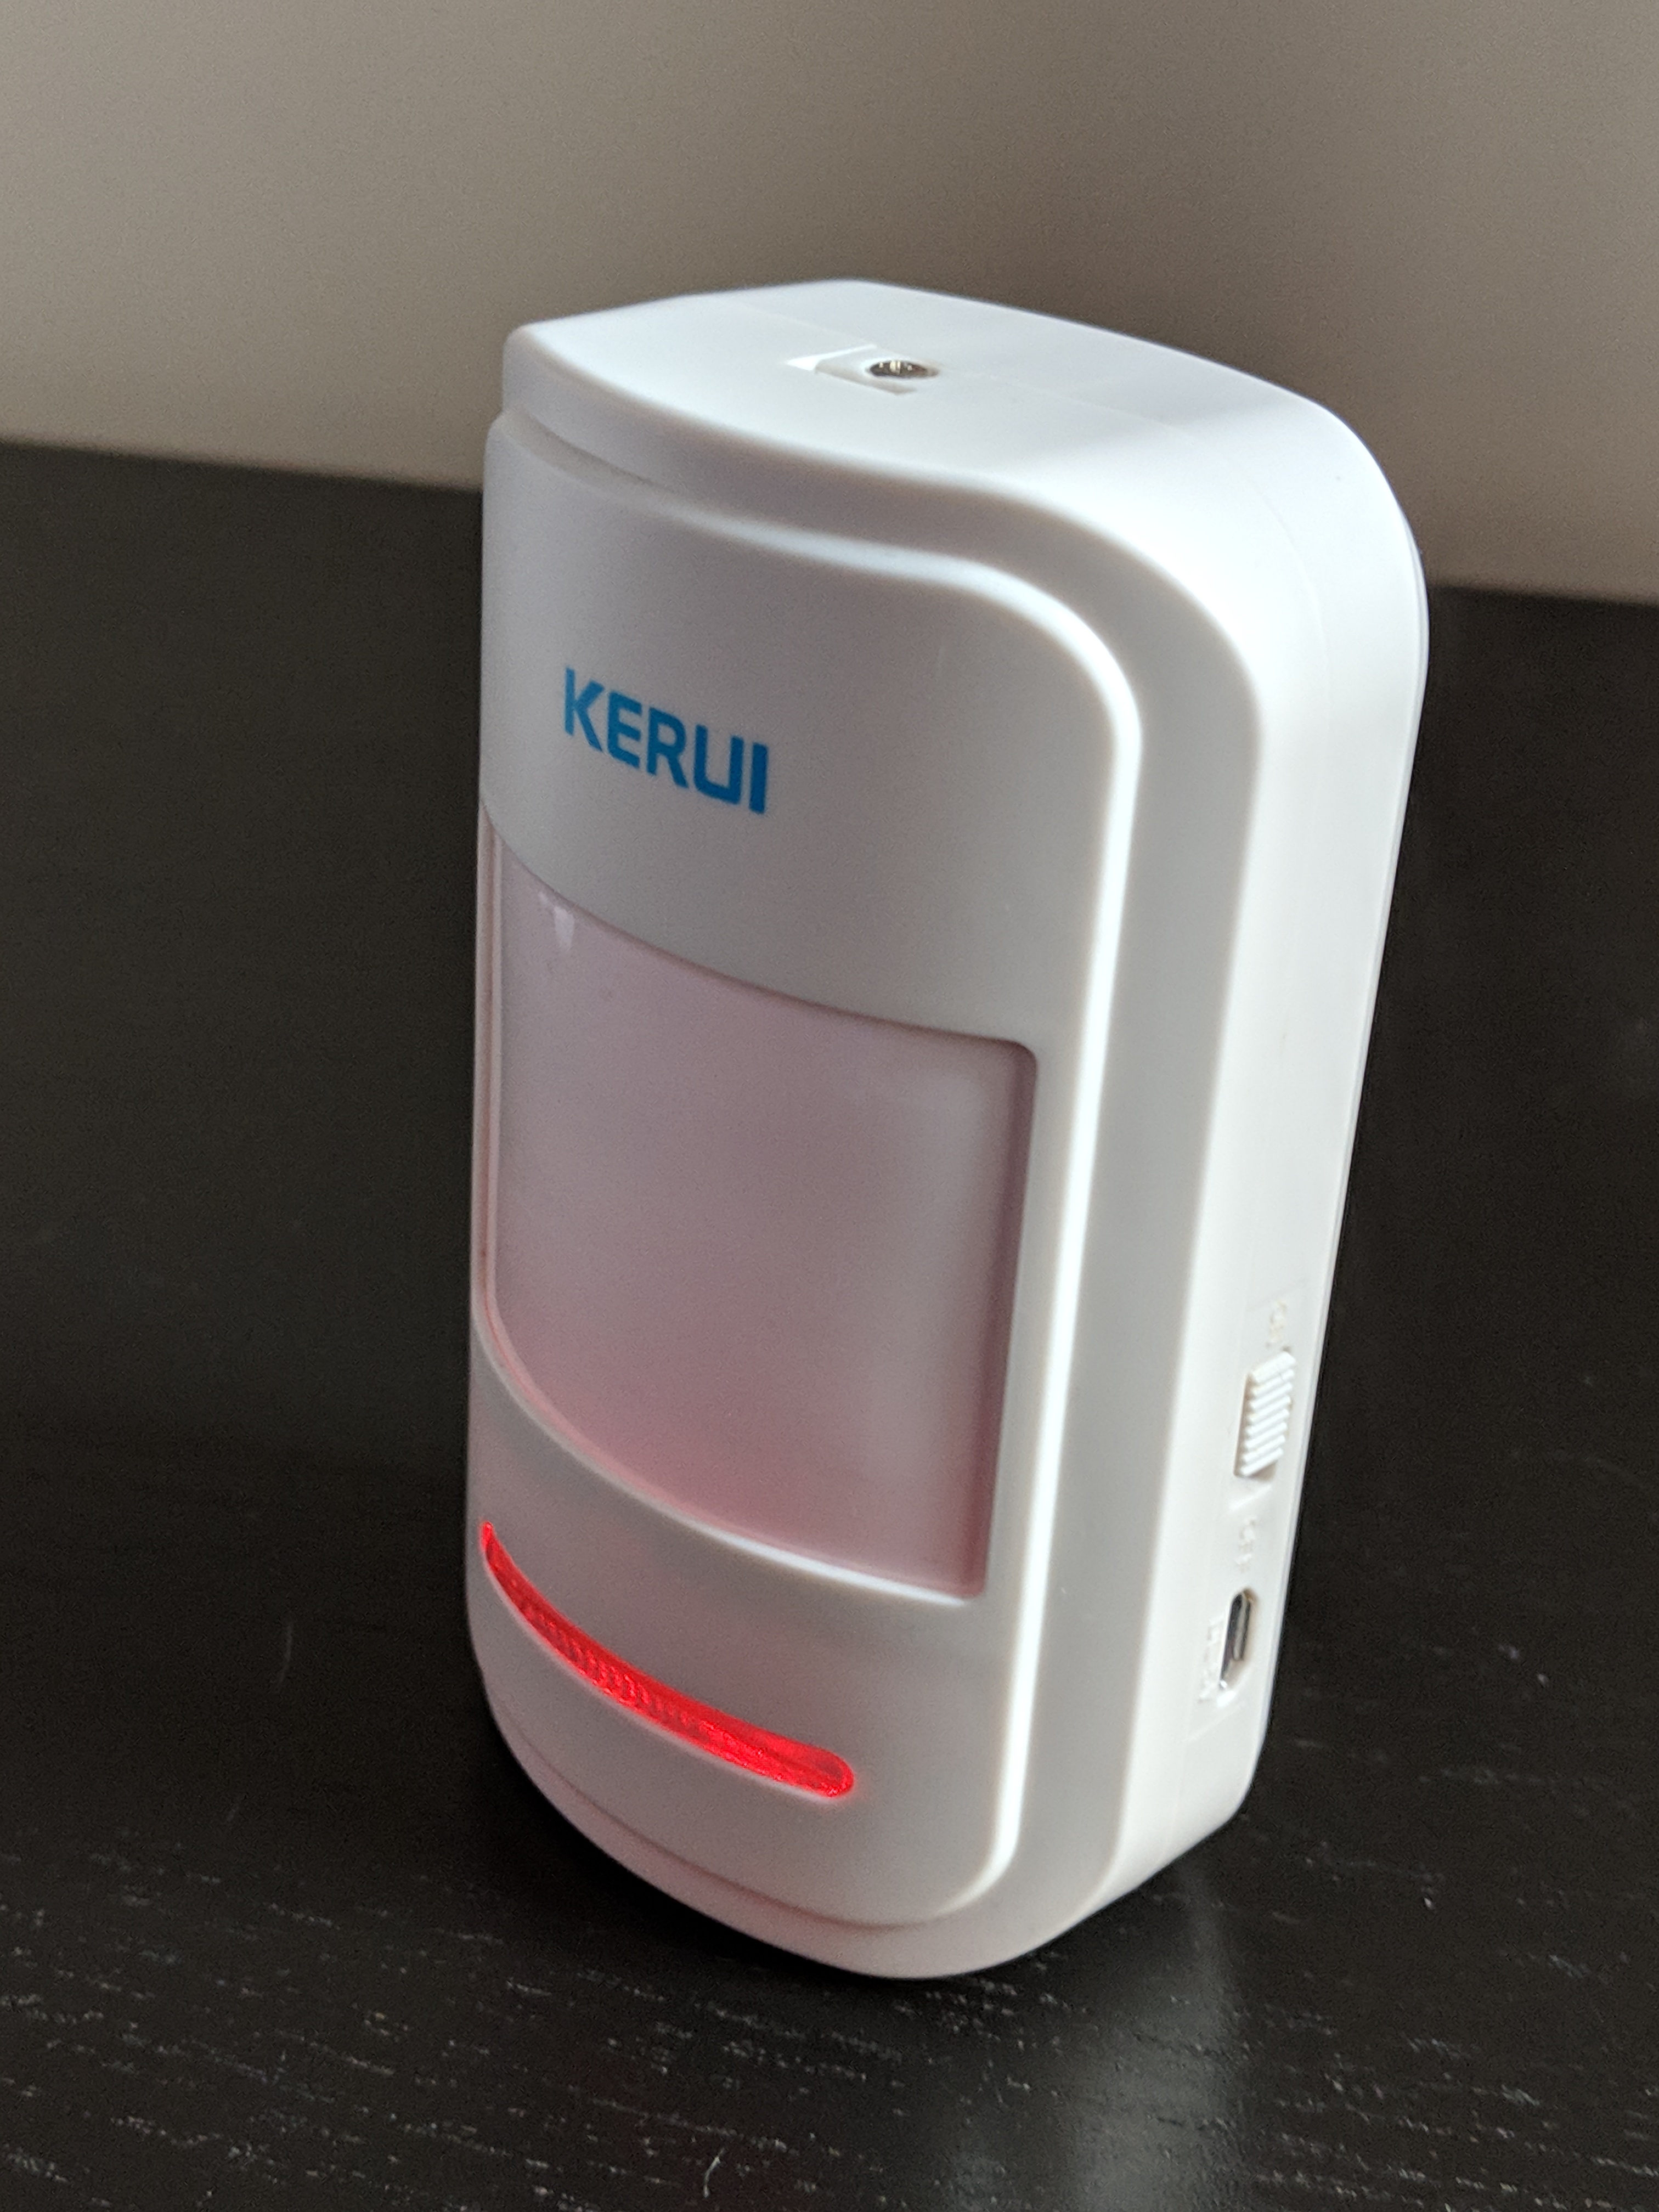
KERUI Motion Sensor Front 
KERUI Motion Sensor Side view showing ON/OFF switch and Micro-USB power supply port 
KERUI Motion Sensor Face View
Advertisement Begins
Advertisement End
Capturing radio signals for Home Automation
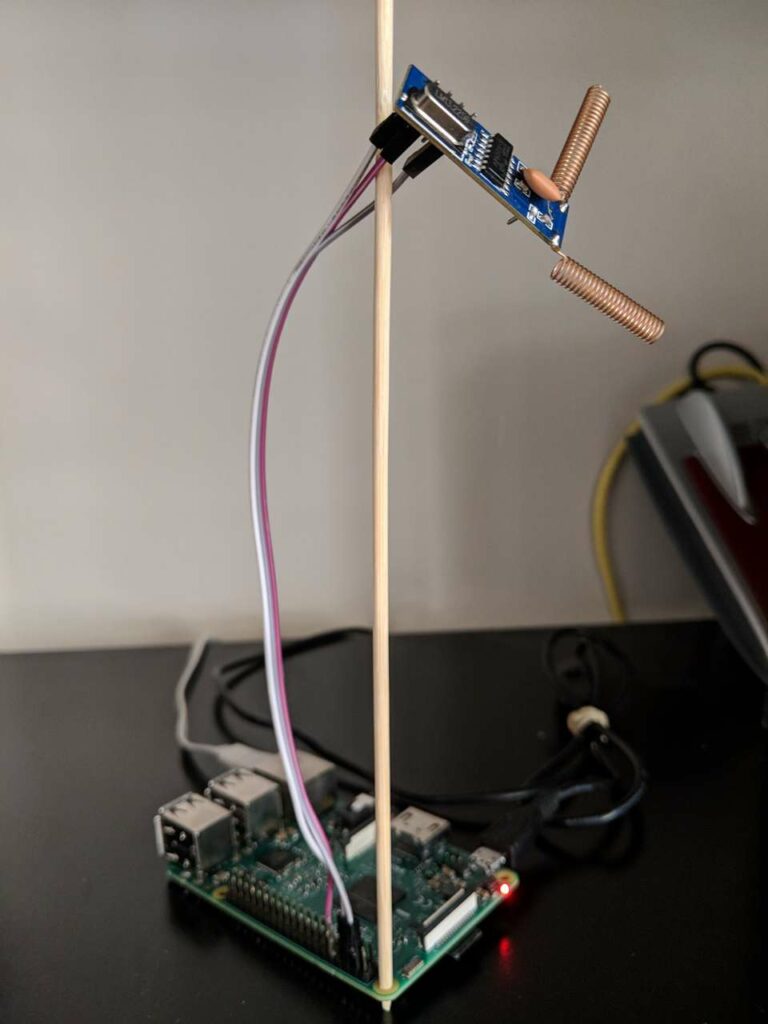
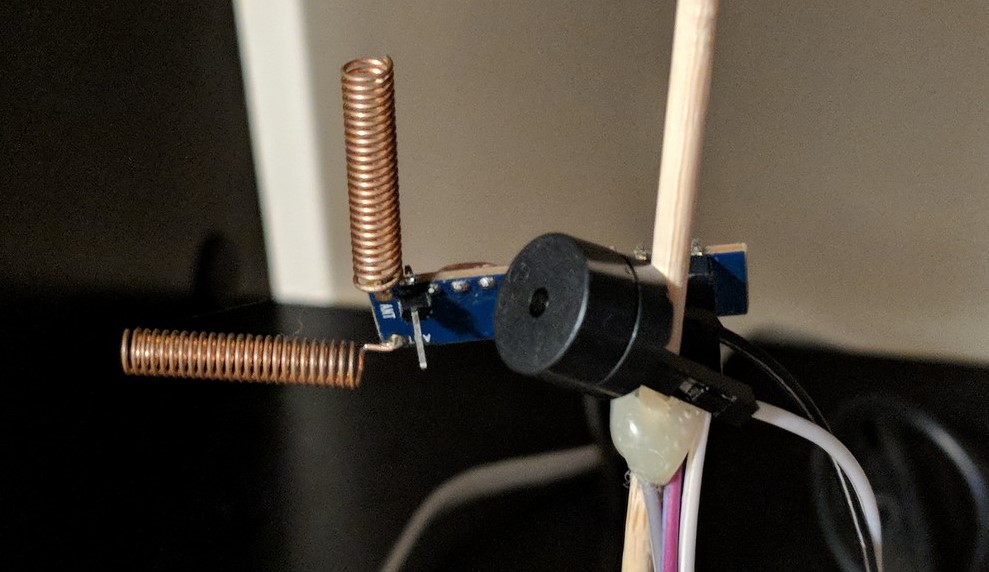
Setting up an RF gateway is relatively simple as you can add a receiver module to a raspberry pi as pictured below.

After connecting the RF receive module to power (5v and ground), you need to connect the data pin of to pin 27 on the Raspberry Pi.
Refer to the embedded post below for how the software is configured:

The RF gateway is converting radio signals (containing a simple number such as 13531200 ) to MQTT messages such as /rf/13531200. It is the gateway between the radio domain and the Wifi domain.
Set up my dockerized RF gateway by cloning Github and running docker-compose up -d.
From the logs you will be able to see the integer payloads emitted by your various sensors and remote controls. To check the logs you can run docker-compose logs -tf.
Press each button on your remote control or wave in front of hte motion sensor to capture and record the number.
Take note of these payloads because they are required later.
Testing: At this point you should successfully receive the payloads. If you dont receive any payloads, make sure the data pin of the RF receiver module is connected to pin 27. Your docker container may have to run in privileged mode, which should be configured in the docker-compose.yaml file.
Advertisement Begins
Advertisement End
Getting the RF signals into Home Assistant
The RF gateway is converting radio signals to MQTT messages. The MQTT processor is a software component that acts as a gateway between radio domain specific details and the Home assistant world. It is converting RF interger payloads to Home Assistant events. These events can be consumed by automations and used as triggers.

One nice thing about the component is that it allows you to define simple automations right within the components confiuration. This is useful for assigning actions to remote control buttons. It even supports schedule-based actions, where a remote button may have multiple associated actions depending on the time of day.
| In the morning | You may want the RF kitchen wall panel to trigger the “morning news” automation to start playing the news and a soft pop playlist on spotify. |
| In the evening | You can program that same button to trigger a different automation, such as “bedtime countdown”. |
For now, schedules are based on the time of day (time-based scheduling), however, the component is written generically such that other types of schedules can be implemented easily in the future. For example, there may be a need in the future to have HA template-based schedules.
A basic configuration for a simple button looks like this:
- name: Black Button               # Button name
  type: panel
  mappings:
    mp_button:                     # Mapping name
      payload: 1870753             # RF integer payload
      actions:
        default:                   # Default schedule
          - service: fan.toggle    # schedule action
            entity_id: fan.living_room_fan
The component is very abstract. Check ou the README on the Github repository for more use cases and detailed configuration options.
Testing: At this stage, you should have a basic automation working. Your motion sensor should trigger the toggle of some light in your house to test the signals are received correctly.
Set up stateless binary sensors in Home Assistant
In short, you can set up binary sensors as shown below. There are stateful binary sensors (such as doors) and stateless sensors (such as motion sensors). Note that stateless sensosr require the off_delay parameter, which will make them flick back to the off state 2 seconds after motion is detected.
# Door sensor
- platform: mqtt
  name: "shed_door"
  device_class: 'door'
  state_topic: "/rf/all"
  payload_on: '13477130'
  payload_off: '13477134'

# Motion sensor
- platform: mqtt
  name: "living_room_motion"
  device_class: 'motion'
  state_topic: "/rf/2678906"
  off_delay: 2
Refer to the post embedded below:

Testing: Use the developer tools in HA to observe the state of your new motion sensor entities. As you wave in front of the sensor, the state should momentarily change to on before resetiing back to off.
Use Case: Motion Lighting
You can setup motion lighting very easily using Entity Controller. It is a custom component I wrote which takes care of common automations with minimal boilerplate. We will use a basic configuration of EC to implement motion lights.

entity_controller:
  motion_light:
    sensor: binary_sensor.living_room_motion
    entity: light.table_lamp
    delay: 300
The configuration above tells EC to observe our new motion sensor and turn of the table_lamp for 5 minutes (300 seconds), when motion is detected.
Conclusion
We covered a lot in this post – from capturing RF signals using a cheap receiver module, integrating these into Home assistant using binary sensors and finishing it off by implementing motion lighting by installing Entity Controller from the HACS store. Let me know in the comments about any issues you encounter.


