Activating Flash Mode on Brilliant
Make sure your bulb is in set up mode (fast light flashing at 0.5s intervals). Check your manual for how to achieve this with your device. Below is a video showing the process (very easy if you know what to do).
Affiliate Content Start

Baseus Eli 2i Fit Open-Ear Headphones, 8.8g Secure Fit, 36H Battery, BassUp Technology & Sound Leakage, IPX5 Waterproof, ENC Call, Comfortable for Cycling,Running,Workout
$11.99 (as of February 13, 2026 17:35 GMT +08:00 - More infoProduct prices and availability are accurate as of the date/time indicated and are subject to change. Any price and availability information displayed on [relevant Amazon Site(s), as applicable] at the time of purchase will apply to the purchase of this product.)
Air Tracker Tags-4 Pack: Smart Bluetooth Tracker, Item Finder Works with Apple Find My (iOS Only) App, Trakcer Tag Locator for Keys, Luggage, Satchel, weTag mini. (Not for Android Devices)
$29.99 (as of February 13, 2026 17:35 GMT +08:00 - More infoProduct prices and availability are accurate as of the date/time indicated and are subject to change. Any price and availability information displayed on [relevant Amazon Site(s), as applicable] at the time of purchase will apply to the purchase of this product.)
Amazon Fire TV Stick 4K Select (newest model), start streaming in 4K, AI-powered search, and free & live TV
$21.99 (as of February 13, 2026 17:35 GMT +08:00 - More infoProduct prices and availability are accurate as of the date/time indicated and are subject to change. Any price and availability information displayed on [relevant Amazon Site(s), as applicable] at the time of purchase will apply to the purchase of this product.)Affiliate Content End
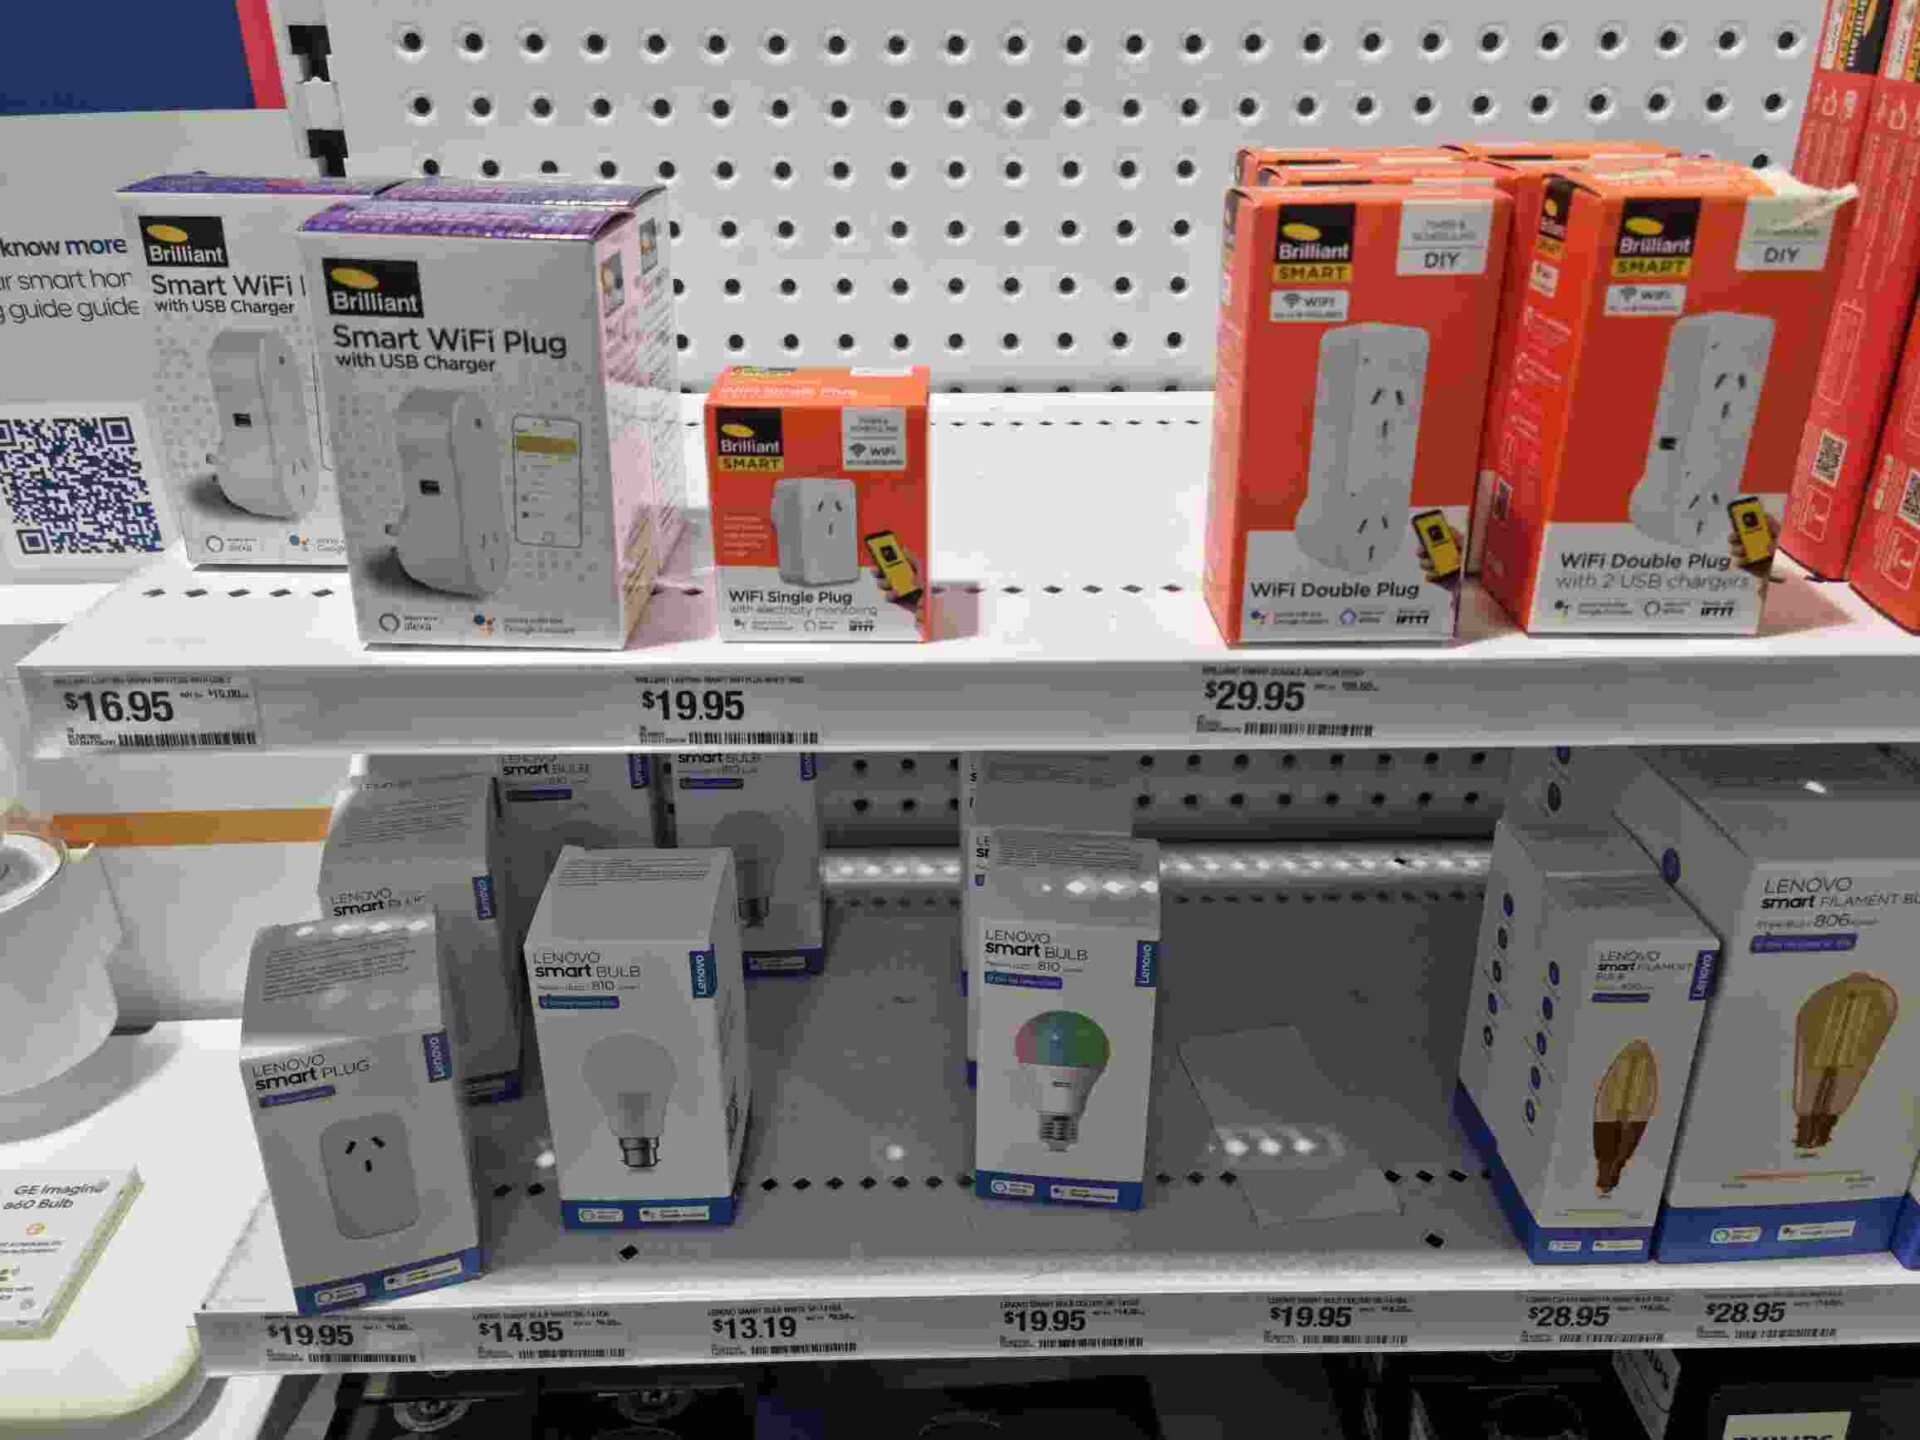
Brilliant Smart WiFi Plug with USB Charger (Model 20676/05)


- Plug in device
- Make sure the device is switched off (solid red led)
- Hold button until red LED blinks rapidly
Brilliant Wifi Single Plug with Electricity Monitoring (Model 20925)
Advertisement Begins
Advertisement End


MY MISSION
This blog started nearly 10 years ago to help me document my technical adventures in home automation and various side projects. Since then, my audience has grown significantly thanks to readers like you.
While blog content can be incredibly valuable to visitors, it’s difficult for bloggers to capture any of that value – and we still have to work for a living too. There are many ways to support my efforts should you choose to do so:
Consider joining my newsletter or shouting a coffee to help with research, drafting, crafting and publishing of new content or the costs of web hosting.
It would mean the world if gave my Android App a go or left a 5-star review on Google Play. You may also participate in feature voting to shape the apps future.
Alternatively, leave the gift of feedback, visit my Etsy Store or share a post you liked with someone who may be interested. All helps spread the word.
BTC network: 32jWFfkMQQ6o4dJMpiWVdZzSwjRsSUMCk6
Smart Home Integration
Tasmota Setup
Once flashed, your device enters the normal Tasmota setup process. Connect to the wifi network starting with tasmota-* and go to 192.168.4.1 to enter your regular WiFi password.
Tasmota Backlog Command
The backlog command in Tasmota can be used to quickly setup a series of devices
Use the following Backlog command in Tasmota device Admin interface to configure the device. Leave Hostname %s as is, it will then take the MQTT topic as host name (in my case son_kitchen_bulb.)
Backlog Hostname %s; FriendlyName Kitchen Bulb; MqttHost serverbox; MqttUser sonoff_user; Topic son_kitchen_bulb;Home Assistant Integration
All my Tasmota based LED lights are single-color, dimmable lights. The following mqtt light configuration should make this work well in Home Assistant.
- platform: mqtt
  name: Bedroom Light
  state_topic: "stat/son_bedroom_light/RESULT"
  command_topic: "cmnd/son_bedroom_light/POWER"
  state_value_template: ""
  brightness_state_topic: "stat/son_bedroom_light/RESULT"
  brightness_command_topic: "cmnd/son_bedroom_light/Dimmer"
  brightness_value_template: ""
  brightness_scale: 100
  payload_on: "ON"
  payload_off: "OFF"
Conclusion
Tasmota is my favourite home automation project. All my lights and switches have been setup with this firmware. Brilliant smart switches (due to their security flaws) are easy to flash with Tasmota.
Please help me keep this post updated by leaving a comment when instructions change.